Free SSL Certificate for your IIS
In this article, I will show you how to use Let’s Encrypt to give your IIS a free SSL certificate that is accepted by all modern browsers.
Prerequisites for the tutorial
I’m assuming your server is up to date and IIS is already installed. How to install IIS on your Windows Server 2016? I’ll show you in this article (German only).
In addition, you have a top or sub domain, or you have access to their DNS entries. Please add an A record to the IPv4 address of the server and an AAAA record to the IPv6 address of the server in the DNS entries of the domain you want to use.
Required tools
Still, there is no official tool of Let’s Encrypt to perform the ACME Challenge on your server. However, since it is an open protocol, there are already many “unofficial” tools, all of which are based on the Let’s Encrypt service.
I recommend you “Certify the web”. At the moment, “Certify the web” is still in beta. It is however the only tool with GUI so far and offers many premium features such as automated extension of certificates and Multidomain certificates.
Download the free tool here:
Then, install the tool on the server where you installed IIS.
Request a certificate with Certify the web
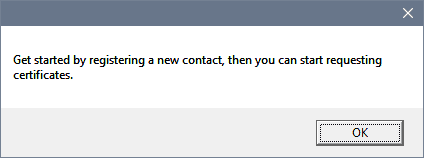
Start the application you just installed by clicking on the desktop icon. You are greeted with the request to register a new contact – accept this request. You can use the e-mail address that you set up to get Reminder from Let’s Encrypt about the state of your certificate.
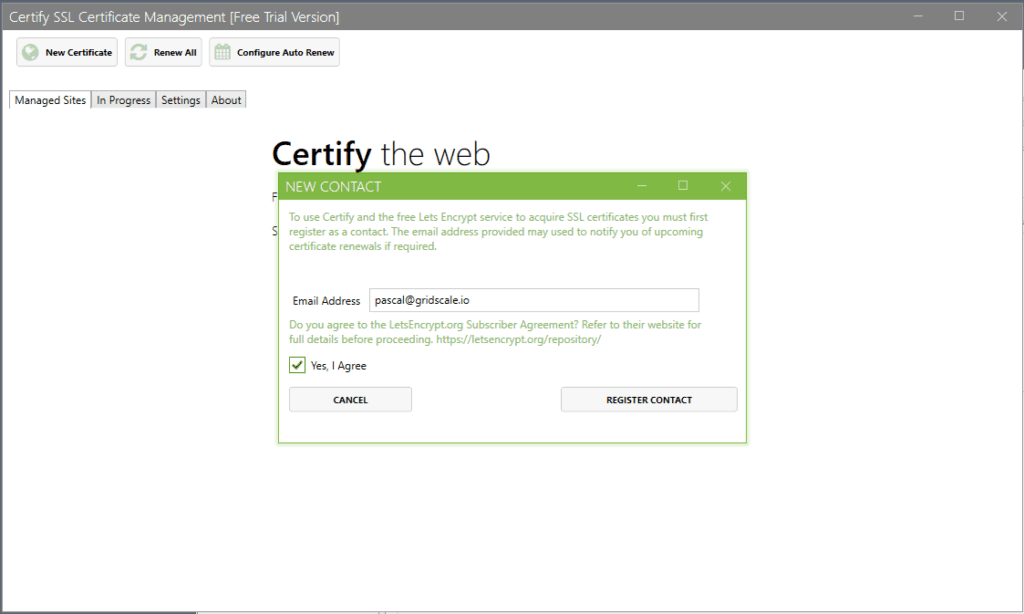
In the next window you enter your e-mail address and confirm the general terms and conditions. The one-time registration process is then completed.
Change now to the IIS and create a binding for your domain.
To do this, click on the corresponding site on the left side of the menu and then on the right side on “Bindings …”
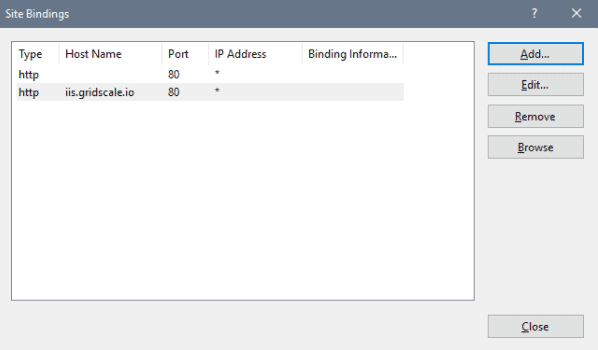
Click on “Add …” and then enter your domain at “Host name:”.
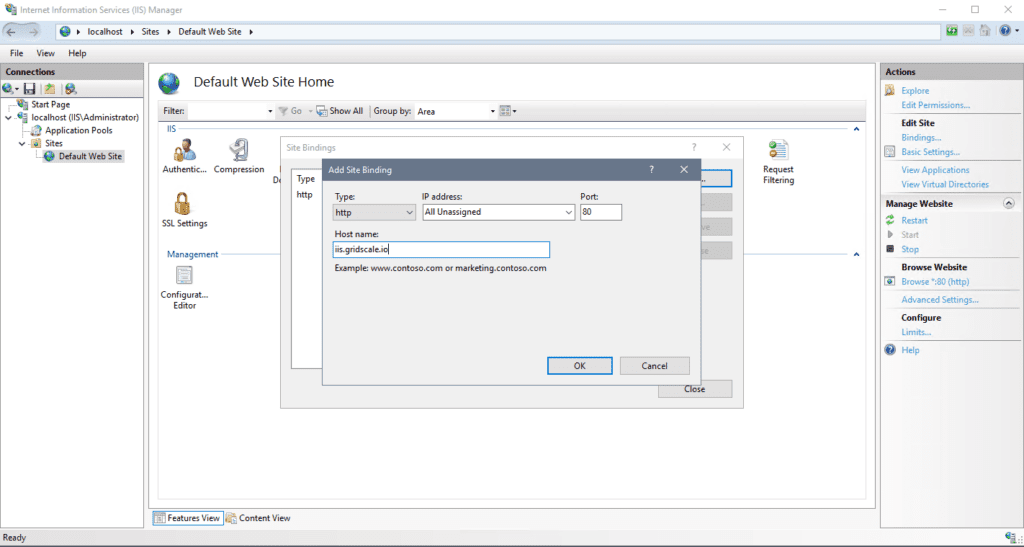
Then click OK
Go back to Certify and click New Certificate in the top menu. Select your site from the Select IIS Site: drop-down menu. Then the result should look like this:
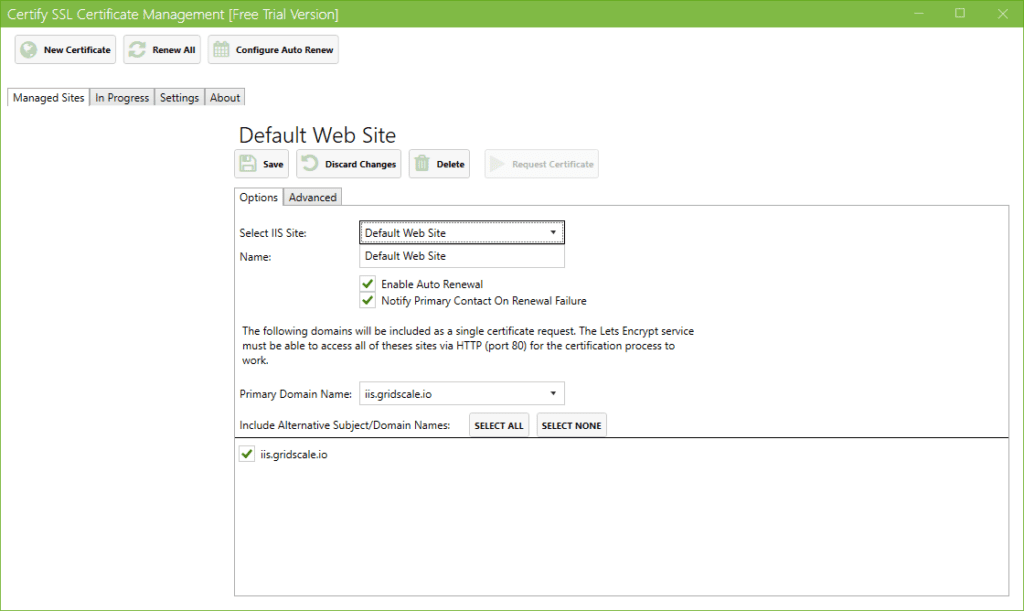
Then click on Save and on Request Certificate. If everything worked out you get success as feedback.
Then click on “Configure Auto Renew” in the upper menu to activate the automatic renewal of the certificate. Attention: This could become a premium function for paying customers in the future.
Enter a username and password for a user with administrator rights. This is used to execute the commands necessary to update the certificate. If everything has worked, you get the following message:
The certificate is now installed and already available. Change to your browser and go to https://your-domain.tld/.
Summary
Congratulation! Your web site visitors can now communicate through an encrypted connection to your server. However, your site is still accessible under the HTTP version of your domain. To automate the forwarding of HTTP to HTTPS, just read Automatic IIS redirect http to https. There I show you how you can offer all visitors the advantages of SSL encryption.