Customer Communication made easy – How to configure SMTP
To make communication with your customers smooth, we are introducing SMTP starting at 22.11.2022. This gives us the possibility to inform your customers about product changes, new releases or incidents, and all this in your name, without gridscale appearing as the sender. In this tutorial, we will show you how to configure SMTP in your partner panel.
No configuration options for Graylabel partners
As a Gray Label Partner this option is not available. However, you have the option to upgrade to a White Label Partner License. Otherwise gridscale will send emails to your customers as sender.
What is SMTP?
SMTP stands for Simple Mail Transfer Protocol and is used to send mail on an IP network. You can think of this protocol as a “letter carrier” that delivers your electronic messages to the recipient.
- No configuration options for Graylabel partners
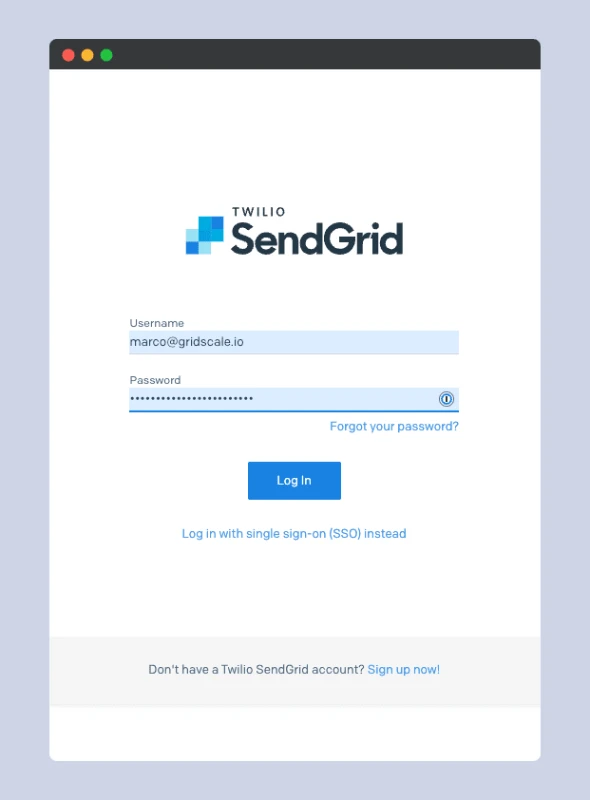
- 1. Log in to SendGrid or create an account
- 2. Create an API Key
- 3. Create a Sender Identity
- 4. Verify your Sender Identity via Mail
- 5. Switch to the Partner Panel and go to the Partner Panel settings
- 6. Click on the SMTP tab
- 7. Send a test email
- 8. Activate SMTP
How to configure SMTP in your Partner Panel?
In the following, I will show you step-by-step how to configure SMTP in your Partner Panel. This way your customers will be informed about every change on the gridscale platform in the future.
Prerequisites
To configure SMTP in your Partner Panel, you need these things:
- an account with an email provider, e.g. Gmail
- an external mail provider
We use SendGrid in our tutorial. But you can also use any other mail provider.
If you want to log in to your gridscale cloud or partner panel, you can also do this using SAML. This step by step guide shows you how to add a SAML configuration to Azure AD.
Step by Step Guide
1. Log in to SendGrid or create an account
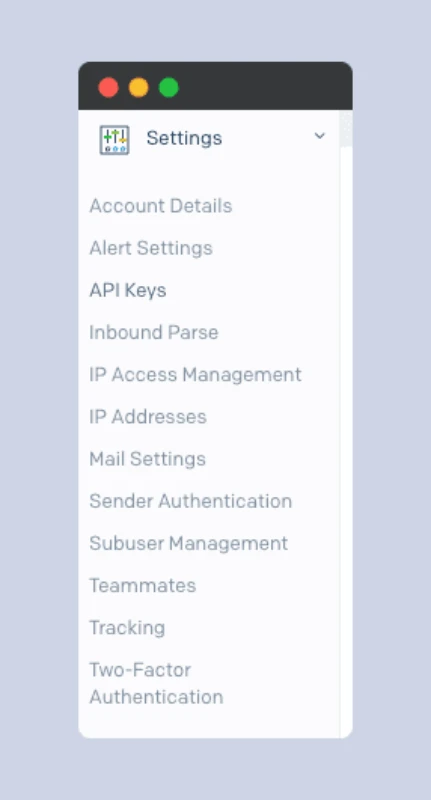
2. Create an API Key
To do this, click on Settings.
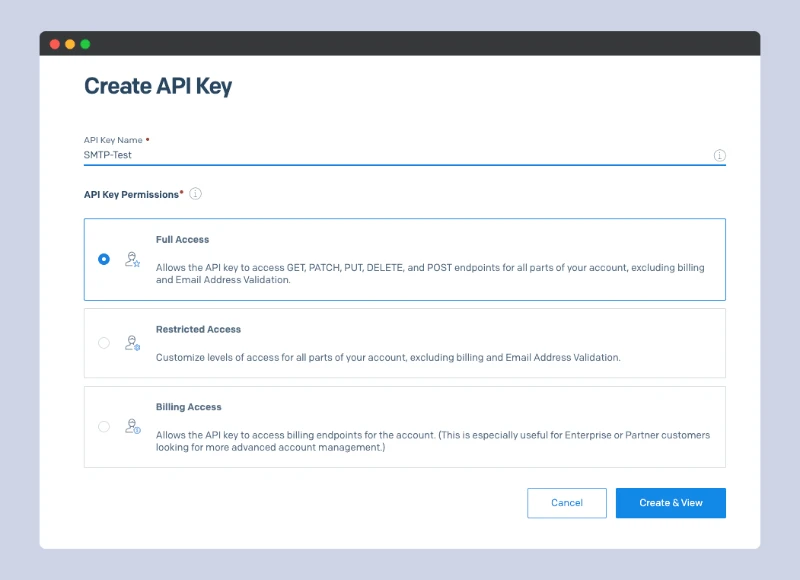
Give your API key a name and select “Full Access”. Then click on “Create & View”.
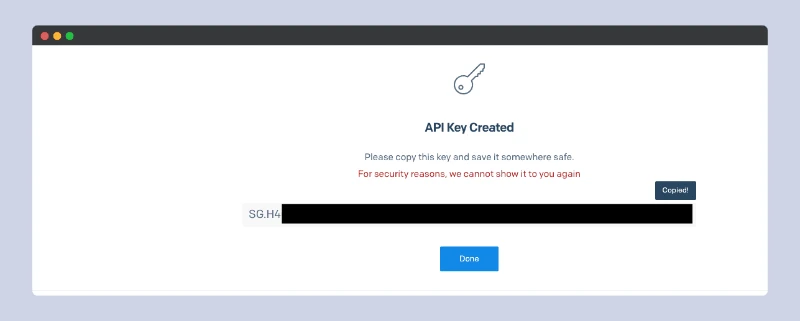
The token has now been created.
Important: Make a note of the API key in a secure place, because you will not be able to see it later!

Bist du bereit zu starten?
Oder hast du noch Fragen? Lasse dir jetzt dein Konto erstellen oder dich in einem persönlichen Gespräch beraten.
3. Create a Sender Identity
Bevor du E-Mails mit SendGrid versenden kannst, musst du eine Sender-Identity anlegen. Klicke dafür auf “Create a Single Sender”.
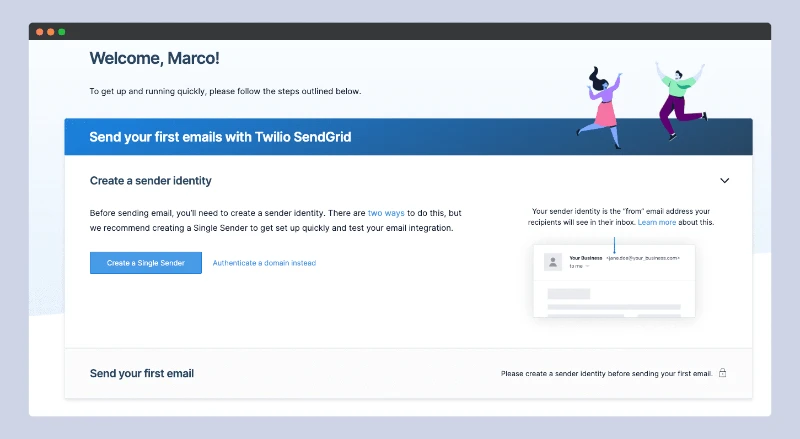
Then enter the required data into the form. Then click on “Save”.

You have now created a Sender Identity!
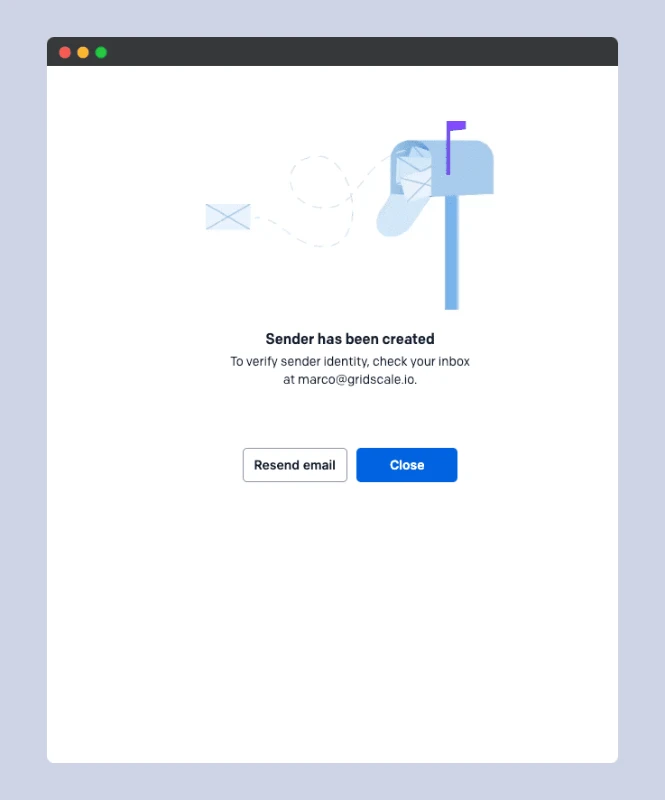
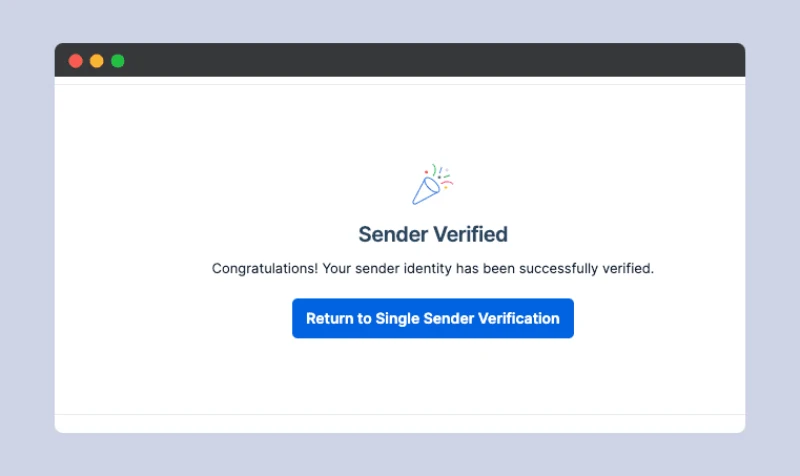
4. Verify your Sender Identity via Mail
5. Switch to the Partner Panel and go to the Partner Panel settings
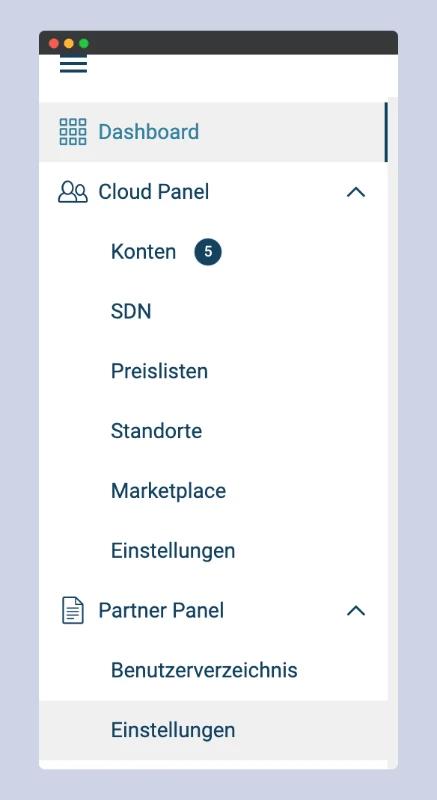
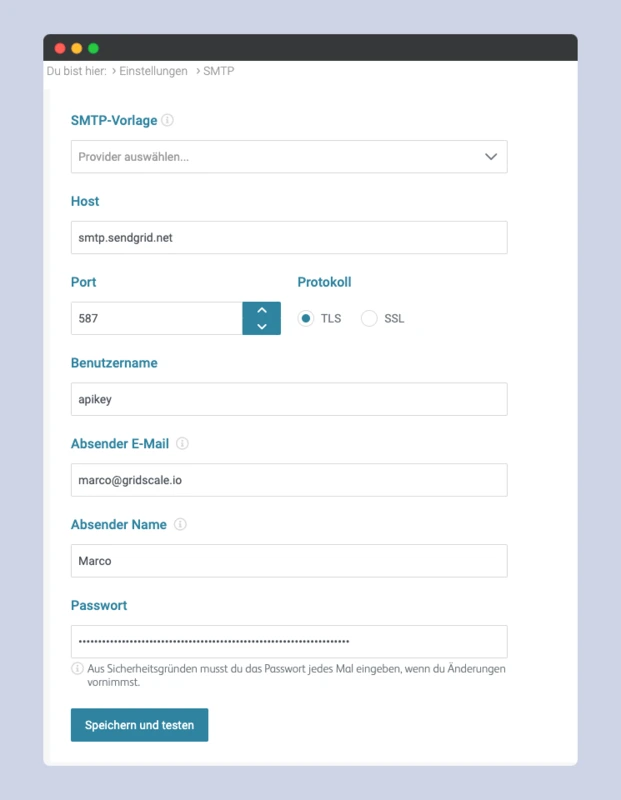
6. Click on the SMTP tab
Fill in all the fields accordingly. How exactly you should fill in the fields is also described in the SendGrid article. It is important that you enter the correct port and whether it is a TLS or SSL connection.
Then enter the sender email and click on “Test”.
7. Send a test email
Enter a mail address of your choice in the line and click on “Send test mail”.
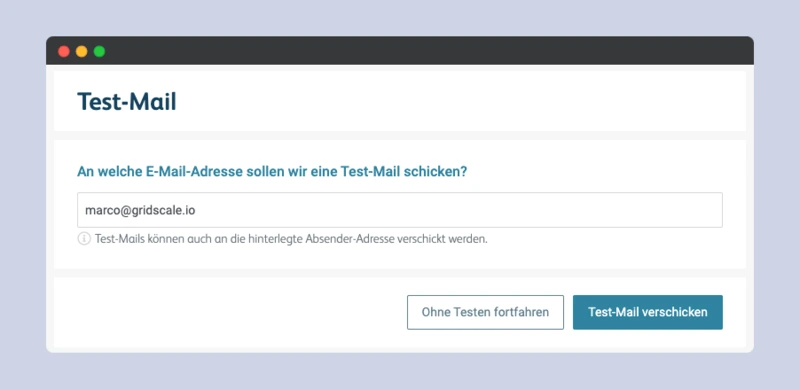
You should have received a confirmation email by now!

8. Activate SMTP
If everything worked, click on the switch under “Activate SMTP”. The switch is now green. Then click on “Save”.
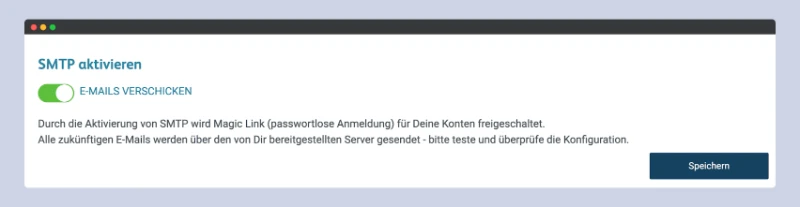
Congratulations! You have successfully configured SMTP in your Partner Panel!
